Soy Milk I
Hand blender Large pot with, ideally, a transparent lid Large can to hold the milk Wooden spoon or another tool for stirring Clean cheesecloth or dish cloth Sealable container for…
- Prep
- 44 min
- Cook
- 1 hr 44 min
- Total
- 2 hr 28 min
- Servings
- As written in source
- Difficulty
- Advanced
Timings are approximate — worked out from the method, not measured in a test kitchen.
Ingredients
Quantities are retained as written by the source and do not scale automatically. Tap an ingredient to check it off as you go.
Cooking instructions
Equipment
Hand blender
Equipment
Large pot with, ideally, a transparent lid
Equipment
Large can to hold the milk
Equipment
Wooden spoon or another tool for stirring
Equipment
Clean cheesecloth or dish cloth
Equipment
Sealable container for the okara (optional, you can also elect to dump or compost it, or ferment it)
Procedure
Put the soybeans and 1 L of water into the pot, and let them soak for 8–12 hours.
Procedure
Strip the soaked beans of their hulls by rubbing or crushing them between your fingers. Remove the hulls and pour away the excess water. While the hulls have about the same density as the beans and bean splinters, you can exploit their high flow resistance for separating the two: Fill some water into the bowl, then pour it away quickly enough to drag the hulls with it, but not so quickly that the beans will follow. This process resembles the winnowing of dry chaff from seeds. It's no problem if a few hulls remain.
Procedure
Add ½ L of fresh water and blend until you get a creamy substance. Add another ½ liter and blend until totally smooth.
Procedure
Bring the raw milk to a boil while stirring, then reduce the temperature to minimum, put the lid on top, and simmer for 20 minutes. Attention: May overboil, check frequently. Removing the lid will allow vapor to escape and reduce the foam. Another possibility is to pour a little bit of cold water on top of the lid.
Procedure
The bitter odor of the raw milk should now be gone. Remove the pot from the stove and add 1 liter of cold water.
Procedure
Line the inside of the can with the cheesecloth so it is completely covered, and the edges of the cloth hang over the edge of the can. The following process will not work if the body of the can is much wider than the opening, though. In this case, use a large bowl instead.
Procedure
Carefully pour the cooked, unfiltered milk into the can. Then fold the cheesecloth together at the top and lift it up out of the can so that the filtered milk drips into the can. Rotate the bottom of the cloth against the top and use your hands to exert additional pressure upon the soy mass. Be careful not to burn yourself.
Procedure
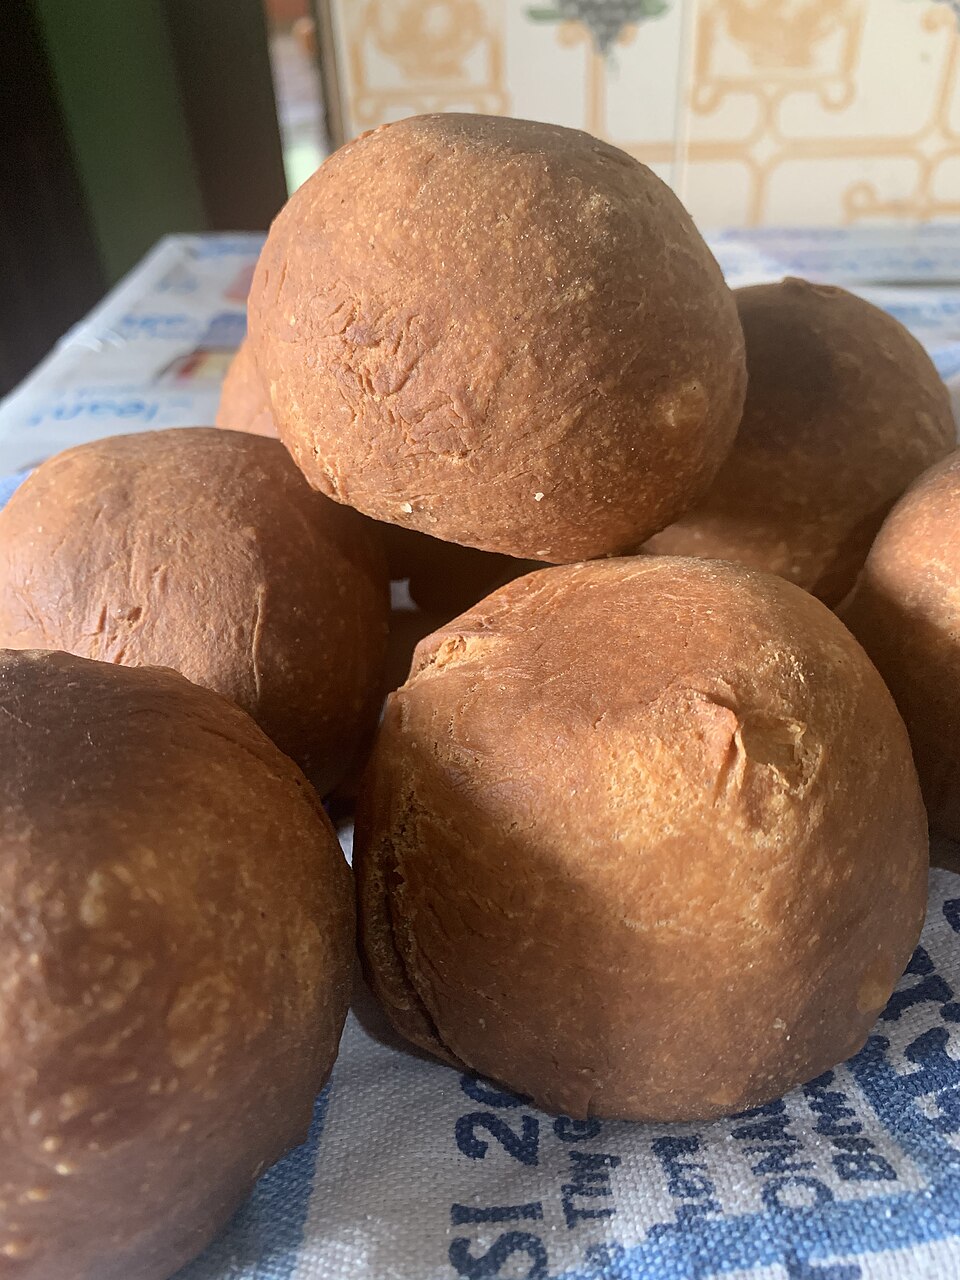
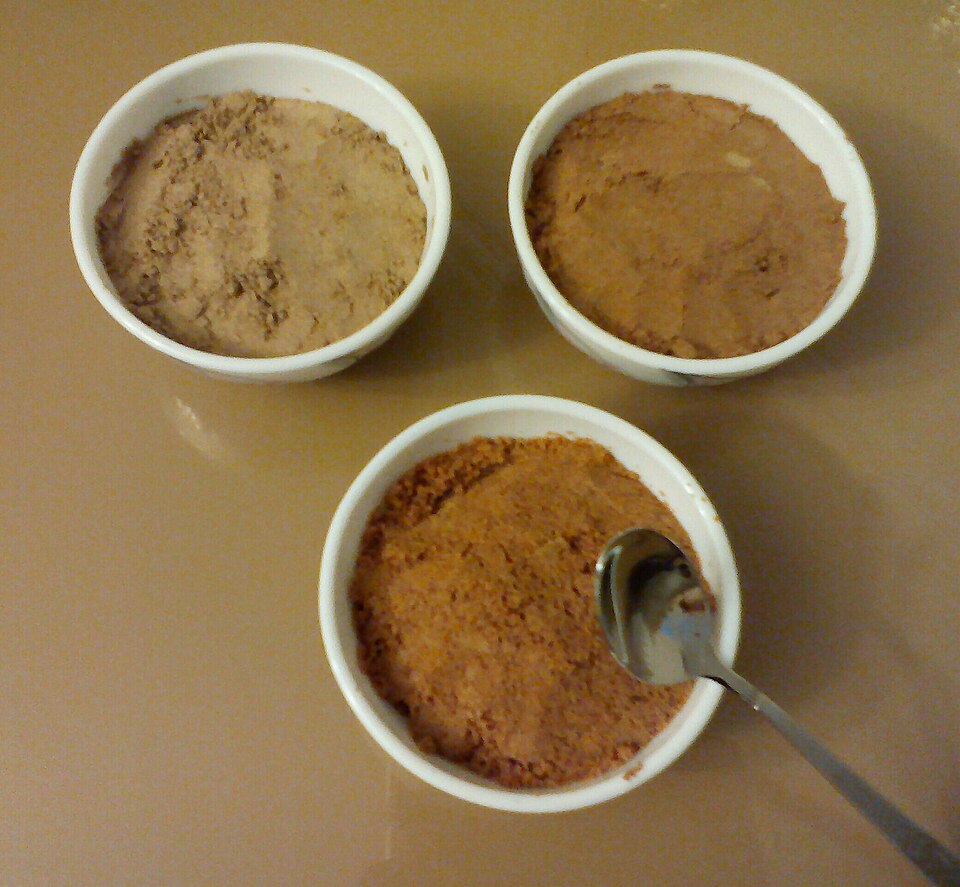
When you're no longer able to extract significant amounts of milk from the soy mass, open the cheesecloth, and put the resulting rubberlike, crumbly okara ball into the prepared container. Store it in a cool place for up to 3 days; you may also freeze it.
Notes, tips, and variations
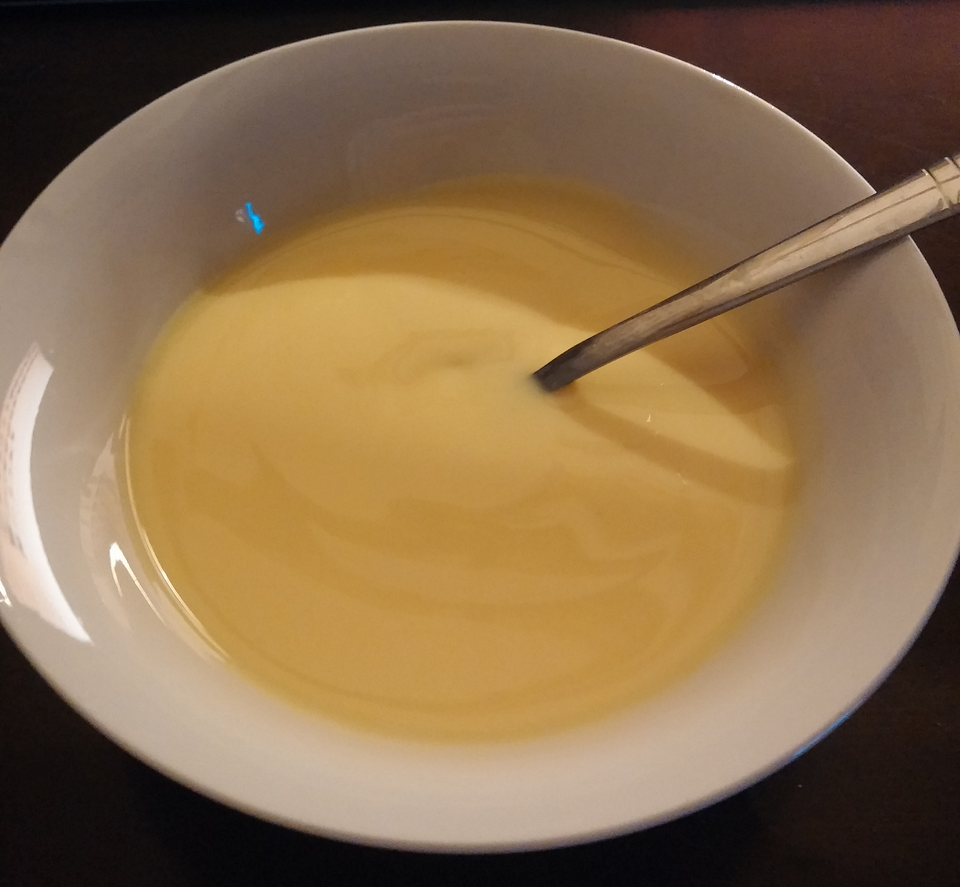
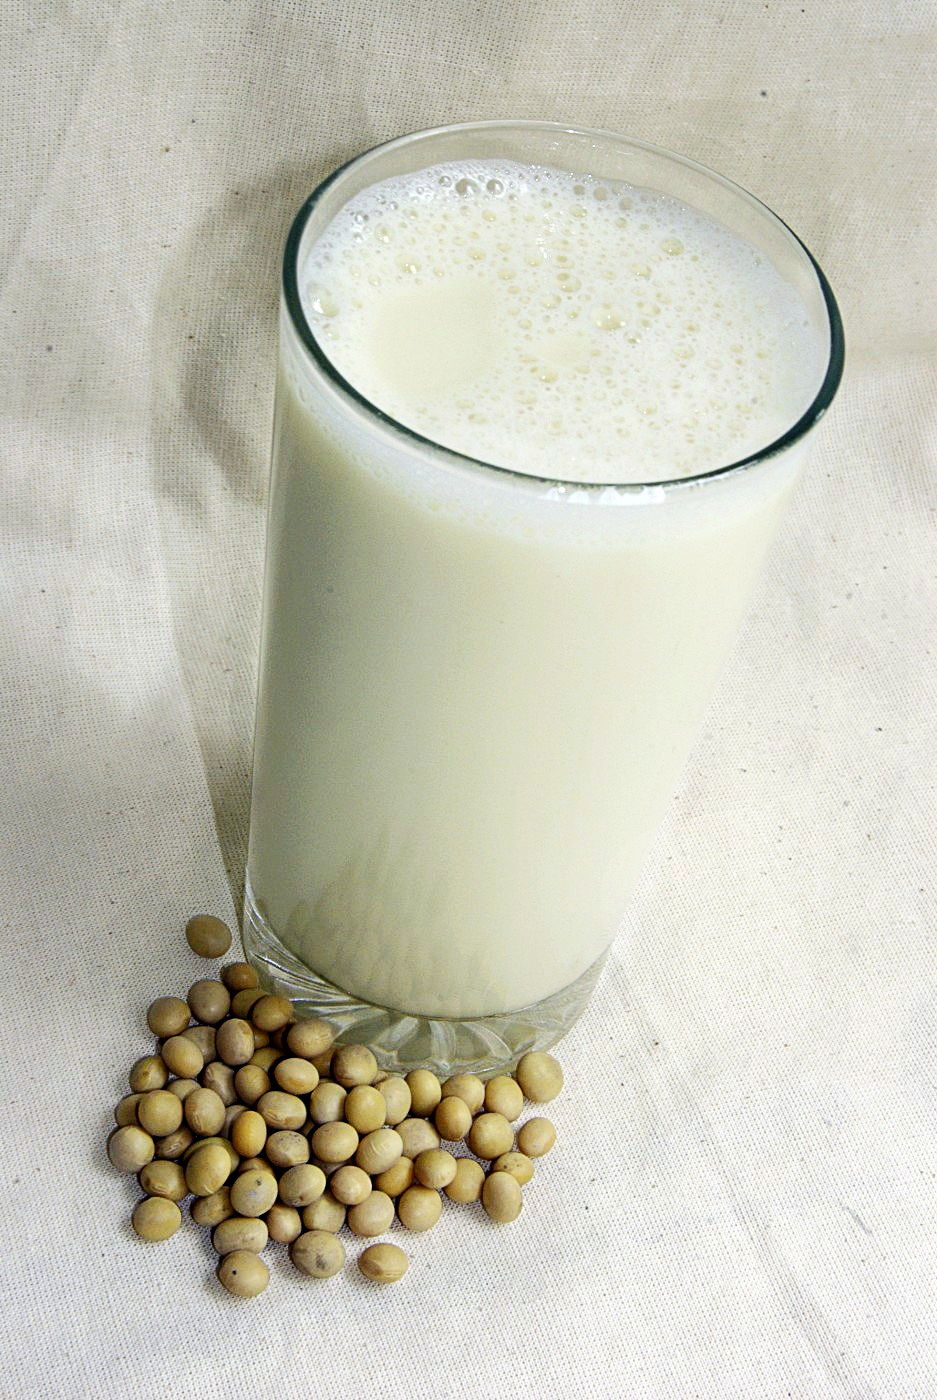
The soy milk can be kept in the refrigerator for about 5 days. You can also use it to make tofu right away.
Notes, tips, and variations
The okara requires much more heat processing than the milk in order to be digestible. Boil it or bake it for at least one hour before eating it. The heat exposure during the baking of bread which contains okara is usually enough. Alternatively, it can be fermented into a special variety of tempeh.
Photo: LinasD (this version uploaded by SlimVirgin) · CC BY-SA 3.0 · https://creativecommons.org/licenses/by-sa/3.0 · Photo source and licence
Wikibooks contributors · CC BY-SA 4.0 · https://creativecommons.org/licenses/by-sa/4.0/ · Adapted; quantities retained as written. · Original source
Read it through first
Skim all 16 steps before you start — it is the difference between cooking and firefighting.
Scale it
Use the quantities listed in the original recipe. Adjust them manually if making a different batch size.
Storage
Cool completely, then keep in an airtight container in the fridge for up to three days.
Reheating
Reheat gently with a splash of water in a covered pan, rather than blasting it, so nothing dries out.
Nutrition information is not available for this recipe yet.
Reviews
No reviews yet. If you cook this, come back and tell everyone how it went.