Peanut Butter and Jelly Sandwich
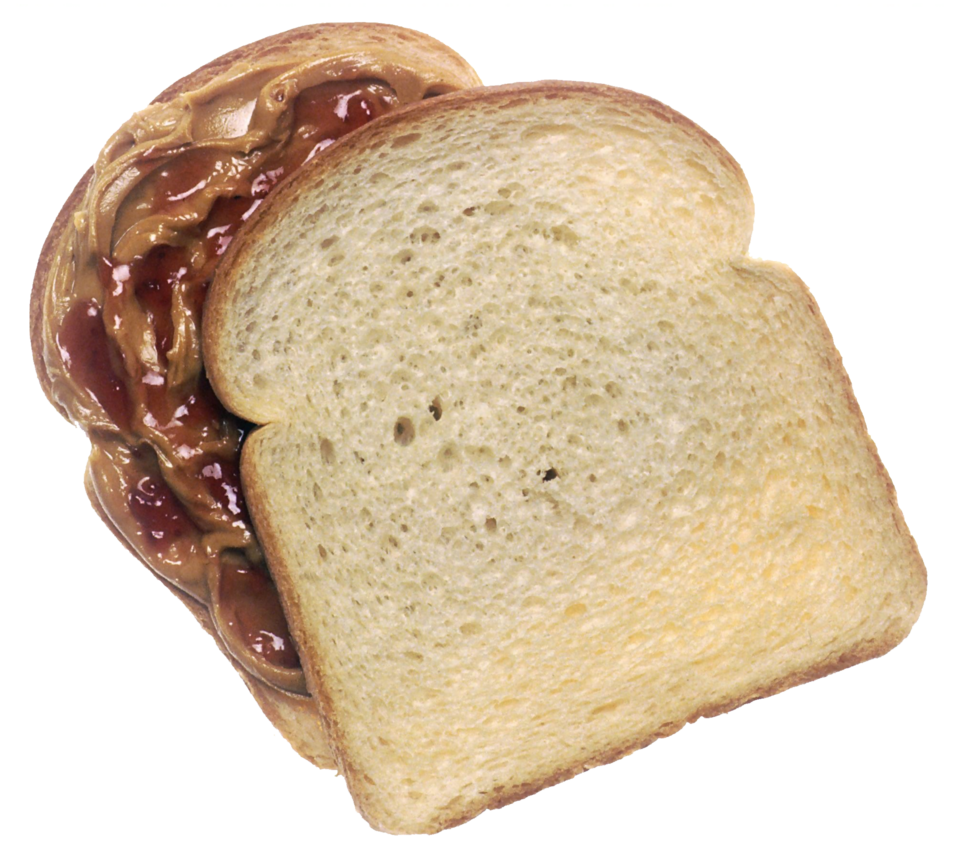
Peanut butter and jelly sandwiches, also know as PB&Js, are a type of sandwich. They are very quickly made and only require a couple of common ingredients. This makes them quite popular, especially in the United States. This recipe will detail how to make the most simple, and indeed traditional form of these sandwiches—feel free to add any ingredients that you think would go well.
- Prep
- 9 min
- Cook
- 45 min
- Total
- 54 min
- Servings
- As written in source
- Difficulty
- Medium
Timings are approximate — worked out from the method, not measured in a test kitchen.
Ingredients
Quantities are retained as written by the source and do not scale automatically. Tap an ingredient to check it off as you go.
Cooking instructions
Procedure
Using a spreading knife, spread an even coat of peanut butter on one side of each slice of bread.
Procedure
When the bread is evenly covered, spread an even coat of jelly atop the peanut butter.
Procedure
After applying the jelly, put one of the slices on a plate (jelly side up) and place the other slice on top of the first (jelly side down).
Notes, tips, and variations
Butter either side of the sandwich with butter or margarine before adding peanut butter and jelly.
Notes, tips, and variations
Instead of white bread, you can use whole-grain bread, or really any type of bread. Go nuts.
Notes, tips, and variations
Try adding in some sliced bananas—they go very well with PB&Js.
Notes, tips, and variations
If using a crab apple jelly, a dash of cinnamon will nicely complement the flavours of the sandwich.
Notes, tips, and variations
Try adding a bit of honey, or even entirely substituting it for the jelly.
Notes, tips, and variations
Try adding some sweet or savory cream cheese.
Notes, tips, and variations
Try toasting the bread before putting the other ingredients on it.
Photo: Renee Comet (photographer) · Public domain · · Photo source and licence
Wikibooks contributors · CC BY-SA 4.0 · https://creativecommons.org/licenses/by-sa/4.0/ · Adapted; quantities retained as written. · Original source
Read it through first
Skim all 10 steps before you start — it is the difference between cooking and firefighting.
Scale it
Use the quantities listed in the original recipe. Adjust them manually if making a different batch size.
Storage
Cool completely, then keep in an airtight container in the fridge for up to three days.
Reheating
Reheat gently with a splash of water in a covered pan, rather than blasting it, so nothing dries out.
Approximate values per serving. Worked out from the ingredient list — treat them as a guide, not a measurement.
Reviews
No reviews yet. If you cook this, come back and tell everyone how it went.